# Upload & Submit to microstocks
# General information
The program can both upload and submit to microstock agencies (i.e. not only upload files to microstock agencies, but also immediately send them to inspectors). This will speed up your work and free up time for yourself and new creative feats.
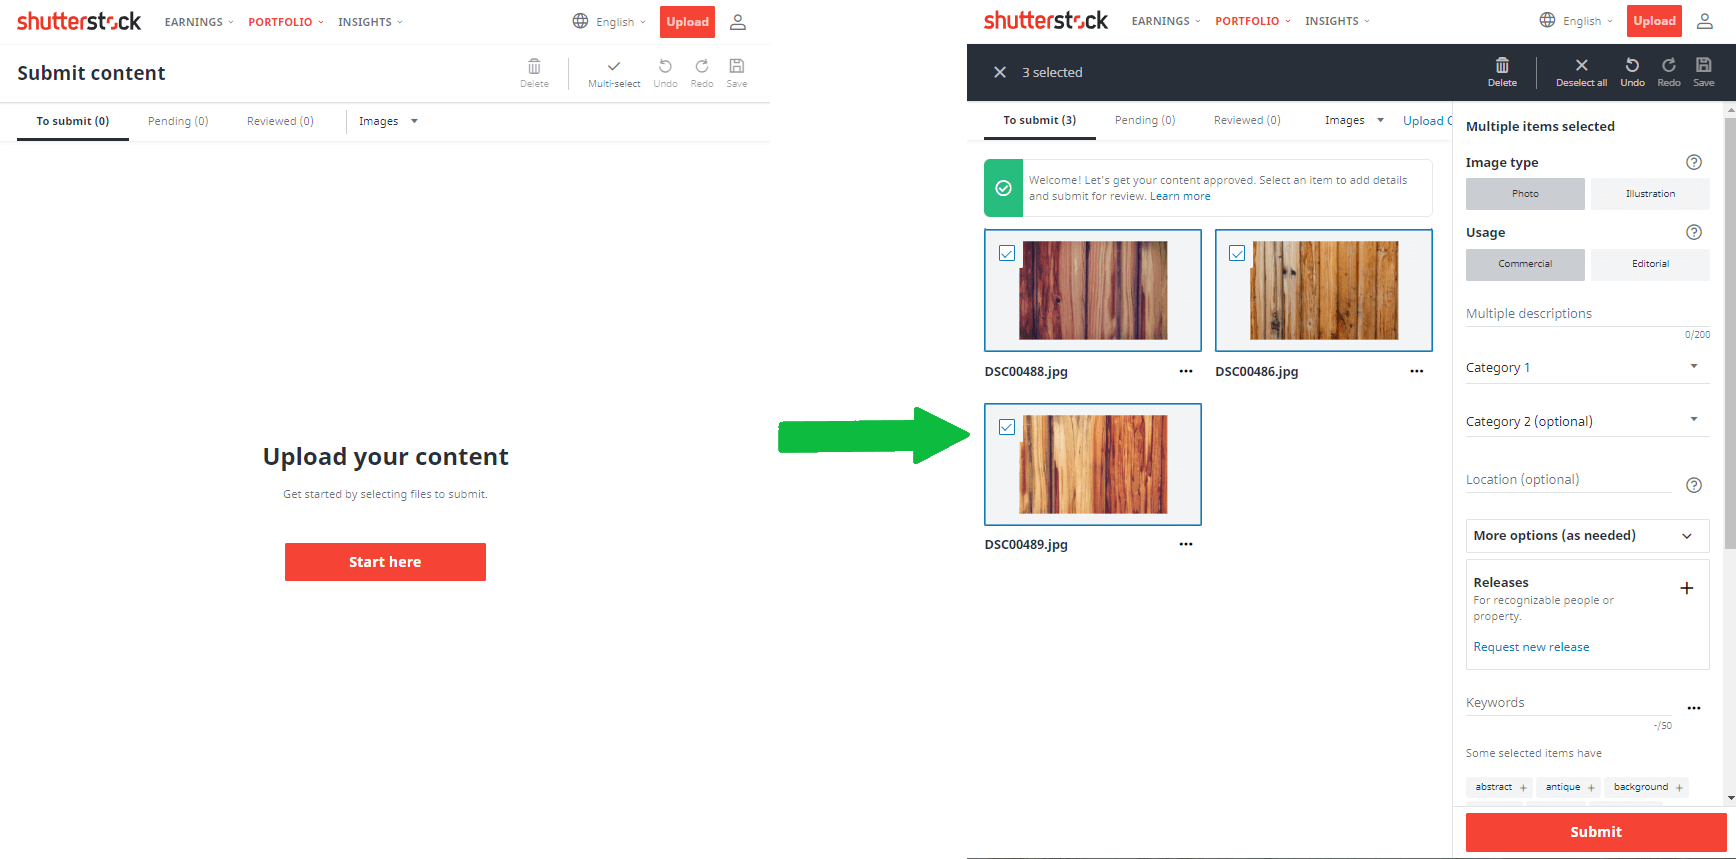
To send files to microstocks, select one or more files and click on the Send files button in the upper right corner
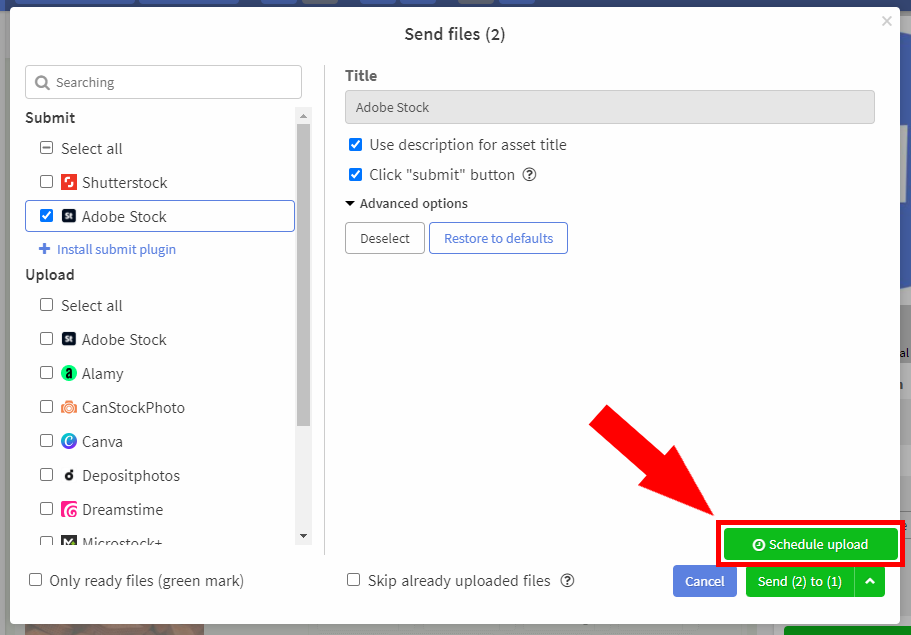
In the window that opens, select one or more microstocks you need in the list on the left, then click the Send (M) to (N) button
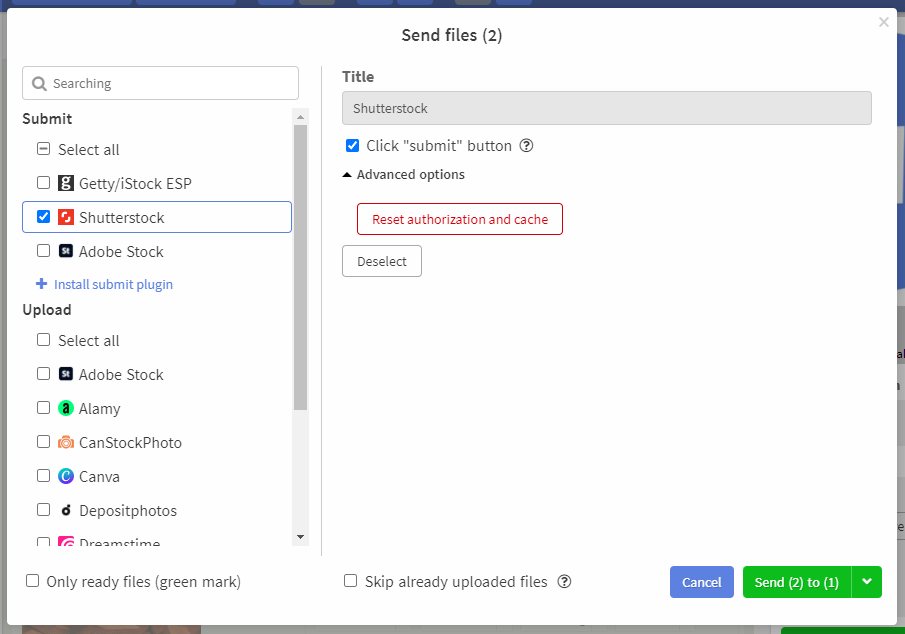
There are two radio buttons at the bottom of the form:
Only ready files (green mark). If enabled, files that have not yet been prepared will not be uploaded, even if they have been selected. You can adjust what is considered as ready files and what is not, through Settings
Skip already uploaded files. If enabled, files will not be uploaded to the same microstocks where they were uploaded earlier (or are scheduled to be uploaded there). The check is based on file statuses.
TIP
You can schedule upload, pre-selecting the date and time of upload
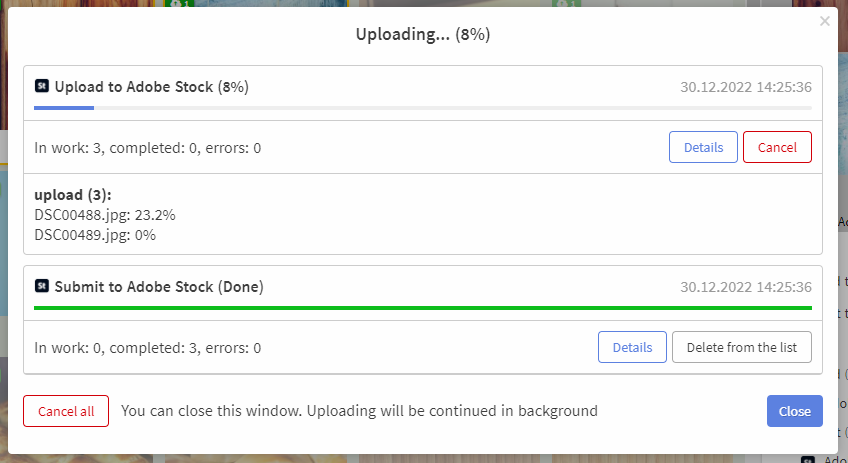
After sending the files, a window will appear with the progress of the upload and submission. You can close it, the processes will continue to run in the background. Learn more about how to monitor active processes here
WARNING
Please note that if you do not use the submit function, but the upload function, then reading the metadata written to the files depends on microstocks. Usually for images they are transferred automatically, for videos they need to be attached using a CSV file. It can be generated by our program also through the function "Export metadata"
# Submit
Submit is carried out through a special section "Submit" in the dialog box for sending files.
Initially, when installing the program, this section is empty. To populate it, install one or more submit plugins. This can be done using the Install submit plugin button. When clicked, the Plugins settings page will open. Here you can install a plugin from the proposed list, or install it from a local disk (see more about plugins)
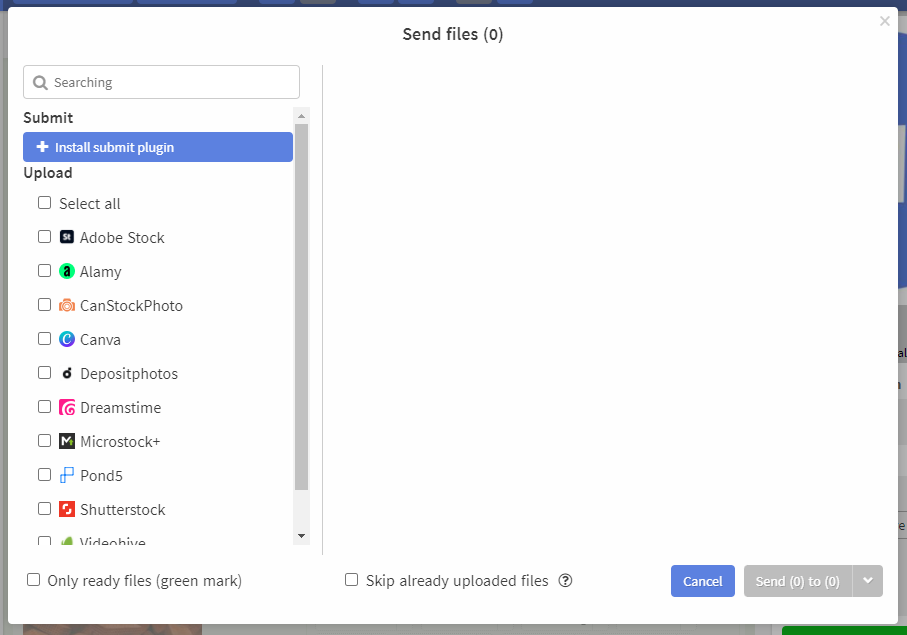
After installing the plugins, the corresponding microstocks with their own special settings will appear in the file sending dialog.
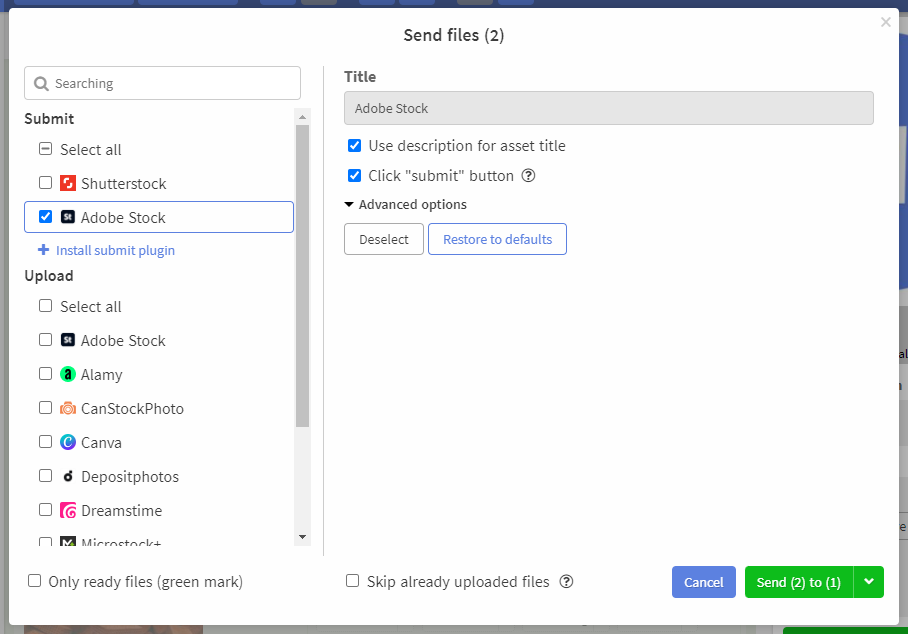
To start the submission process, you need to select one or more microstocks in the "Submit" section and click on Submit.
TIP
Some plugins have the Click "submit" button option enabled by default. If it is disabled, the plugin will upload files, attach all metadata, releases, but will not click on the submit button so you can make sure everything is ok.
The submission process depends on how a particular plugin is implemented, but usually its logic is as follows:
First it checks that all files and their metadata are ok
The plugin asks you to log in via a pop-up window of the built-in browser
If the files are not yet marked as uploaded, they will be uploaded via FTP (you will be asked to enter your FTP login and password)
After upload, the plugin will wait for some time to make sure that uploaded files have been processed by microstock
The plugin will transfer all metadata, upload releases and click on the submit button
WARNING
The implementation of the submission depends entirely on the plugin creator, the list above is just a general recommendation, some plugins may do it in different way
TIP
ImStocker Studio is an open platform. We encourage microstokers with knowledge of web development to join plugin development. To do this, we have prepared a detailed instruction for creating plugins
# Uploading
An alternative to the submit function is the FTP/FTPS/SFTP microstock upload function. The "Upload" section in the file sending dialog is responsible for this.
The program comes pre-configured with connections to several popular microstocks, but you can add your own connections to other microstocks that support uploading via FTP/FTPS/SFTP. To add your connection, click on Add new stock, fill in the fields Title, Address, Username, Password, set up rules for uploading various types of files and specify other parameters, if necessary (details here)
When choosing the connections to which you want to upload files, you can immediately specify your login and password and check their correctness using the Test Connection button
TIP
All entered credentials are stored exclusively on your computer
After selecting connections, click on the Submit button and the upload process will begin. If you have not entered your username and password before, the program will ask you to enter them.

After the upload is completed, the uploaded files will appear on the microstock website

WARNING
The time when uploaded files appear on the microstock website depends on the microstock itself. This usually takes up to 10 minutes. If after a long time the file does not appear, it is possible that the file did not fit the technical criteria. Some microstocks contain a special section with file upload history, which indicates unprocessed files and the reason for their rejection.
It is important to note that most microstocks do not read metadata from video files. For such cases, in order to attach the metadata to the uploaded files, you need to export them to CSV file using appropriate CSV-format and attach generated file via the web interface of the microstock.
If, however, microstock is able to read metadata from the video, you can check the box "Save metadata for videos in the built-in XMP section, if possible" in Settings -> File Formats of the program. Then resave the file and send it to microstock. (if the checkbox is activated, metadata will be written inside the video files. It can significantly increase the file saving time for large files).
WARNING
This checkbox does not take into account special metadata sets for microstocks.
# Schedule upload
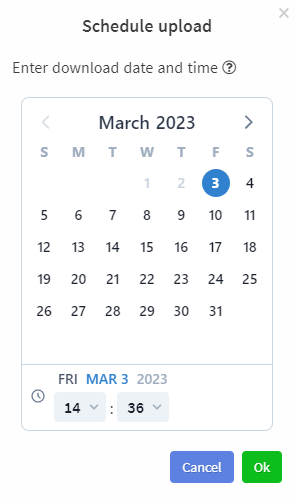
Making a to-do list and planning helps us to cope with a large volume of tasks. Let's imagine that you need to upload files at some specific time, or you want to upload some files to stocks, but not now. ImStocker Studio gives you the ability to schedule uploads. To do this, click on the arrow next to the Submit button and select Schedule upload.
A dialog box will appear where you can select the date and time for the upload. After clicking Ok the upload will be scheduled.
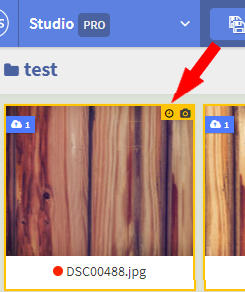
In order not to forget which files are scheduled to be sent, they are marked with a special status Upload scheduled.
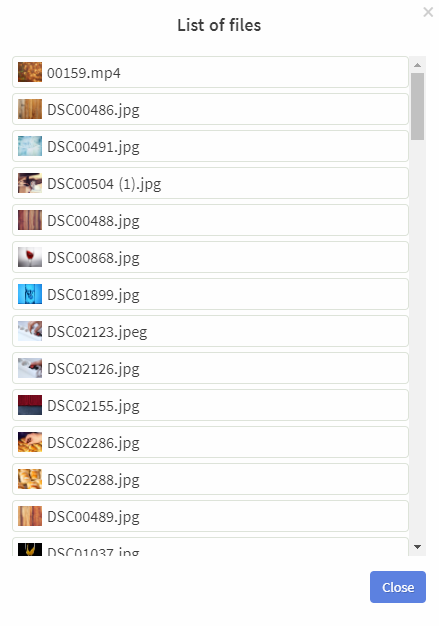
In addition, by opening the upload panel, you can find the scheduled upload and click on the File List button. A window will open with a list of all the files that will be uploaded.
WARNING
In order for the scheduled upload task to be executed, the program must be launched (just run in the background). But do not worry if the upload time is missed, the next time you start the program, all scheduled tasks with a past deadline will start automatically.
# Dispatch control
You can manage files at every stage of the upload process. You can track the status of file uploads in several places in the program:
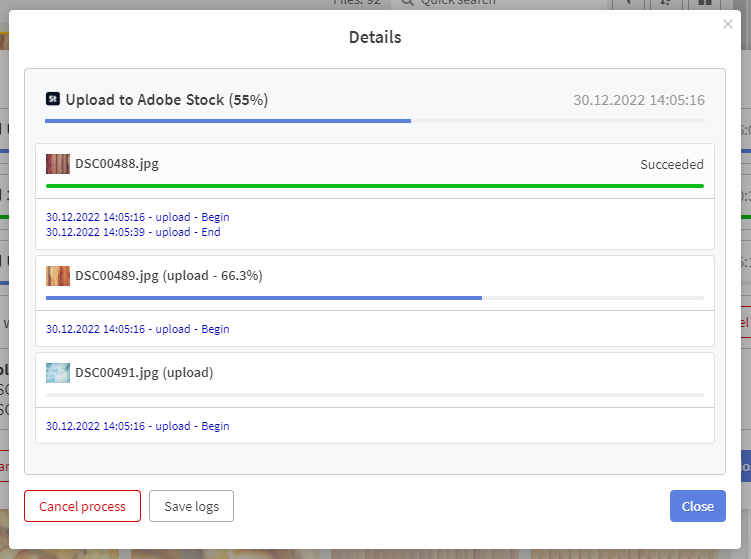
- When you click on the button located to the left of
Submit, which appears after the launch of the send processes, a window opens with a list of all active processes.
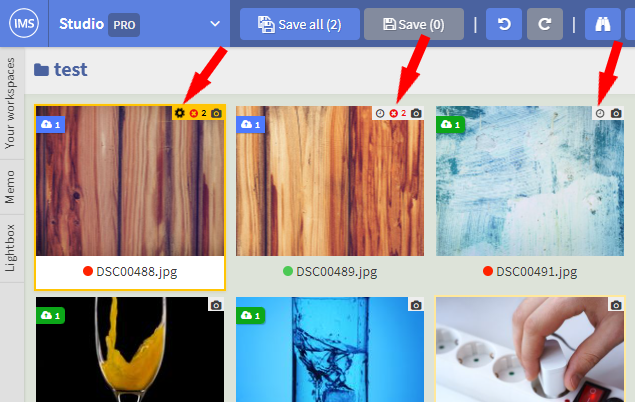
- Looking at the icons on top of the file tile. If a file is uploaded or submitted to any microstock, an icon in the form of a spinning gear appears on top. If the file is waiting for the process you will see icon in the form of a watch.
- Through the tab
Info -> Processes, which displays all the actions that occur with the file. Click on the process you are interested in. Dialog box will open where you can view detailed information on it, restart, cancel or delete the process, as well as save logs.
# Generate CSV files
CSV files are used to bulk assign metadata to microstock files. To generate them, the ImStocker Studio program provides the Export metadata function
Export metadata allows you to save the metadata of selected files in a separate CSV file in a few clicks.
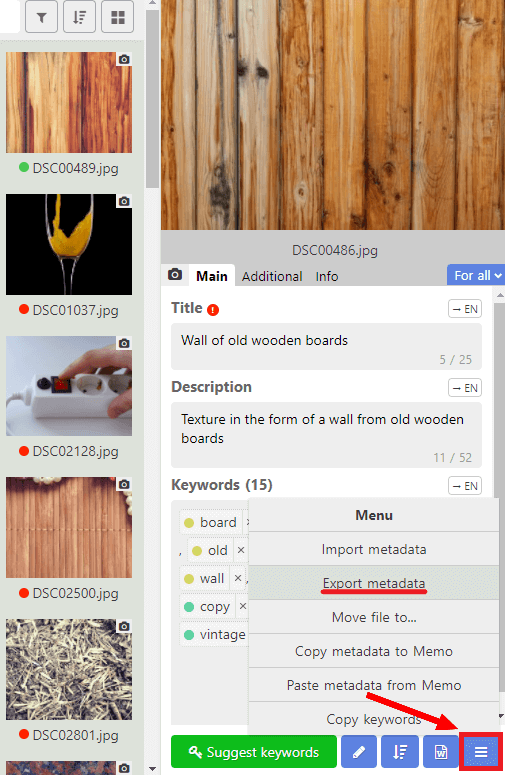
In order to use the export function, press the Menu button in the lower right corner and select the Export metadata item:
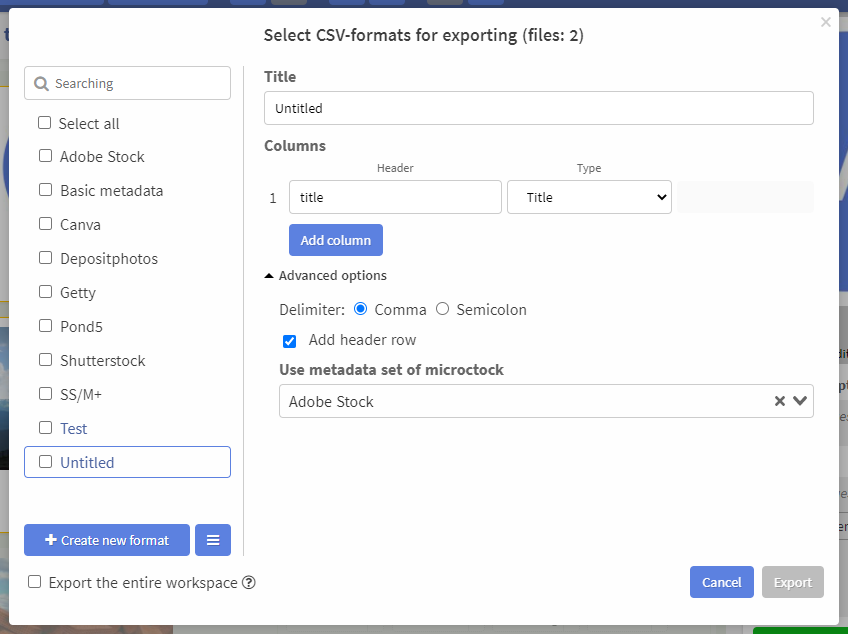
The export window provides the function to select one or more templates used by microstocks, or create your own according to your needs:
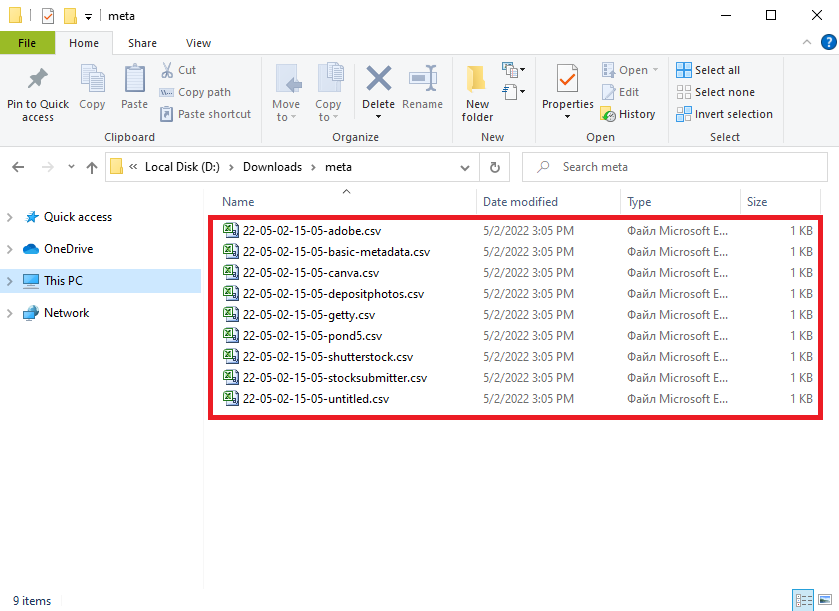
For each selected template, a CSV file will be created containing the metadata of the selected files:
If the checkbox "Export metadata from all files of the selected workspace" was enabled, then the output files will include the metadata of all files that are in the same folder as the selected files.
TIP
If you need to create a new template, then in addition to manually setting all fields, you can use the automatic creation of an export format from a template. This feature is available in the menu next to the Create format button